Testing of mechanical properties
Static tensile testing
- Static tensile test (force range up to 250kN at temperature up to 1200°C)
- Static bending test (force range up to 250kN)
- Static compression test (force range up to 250kN)
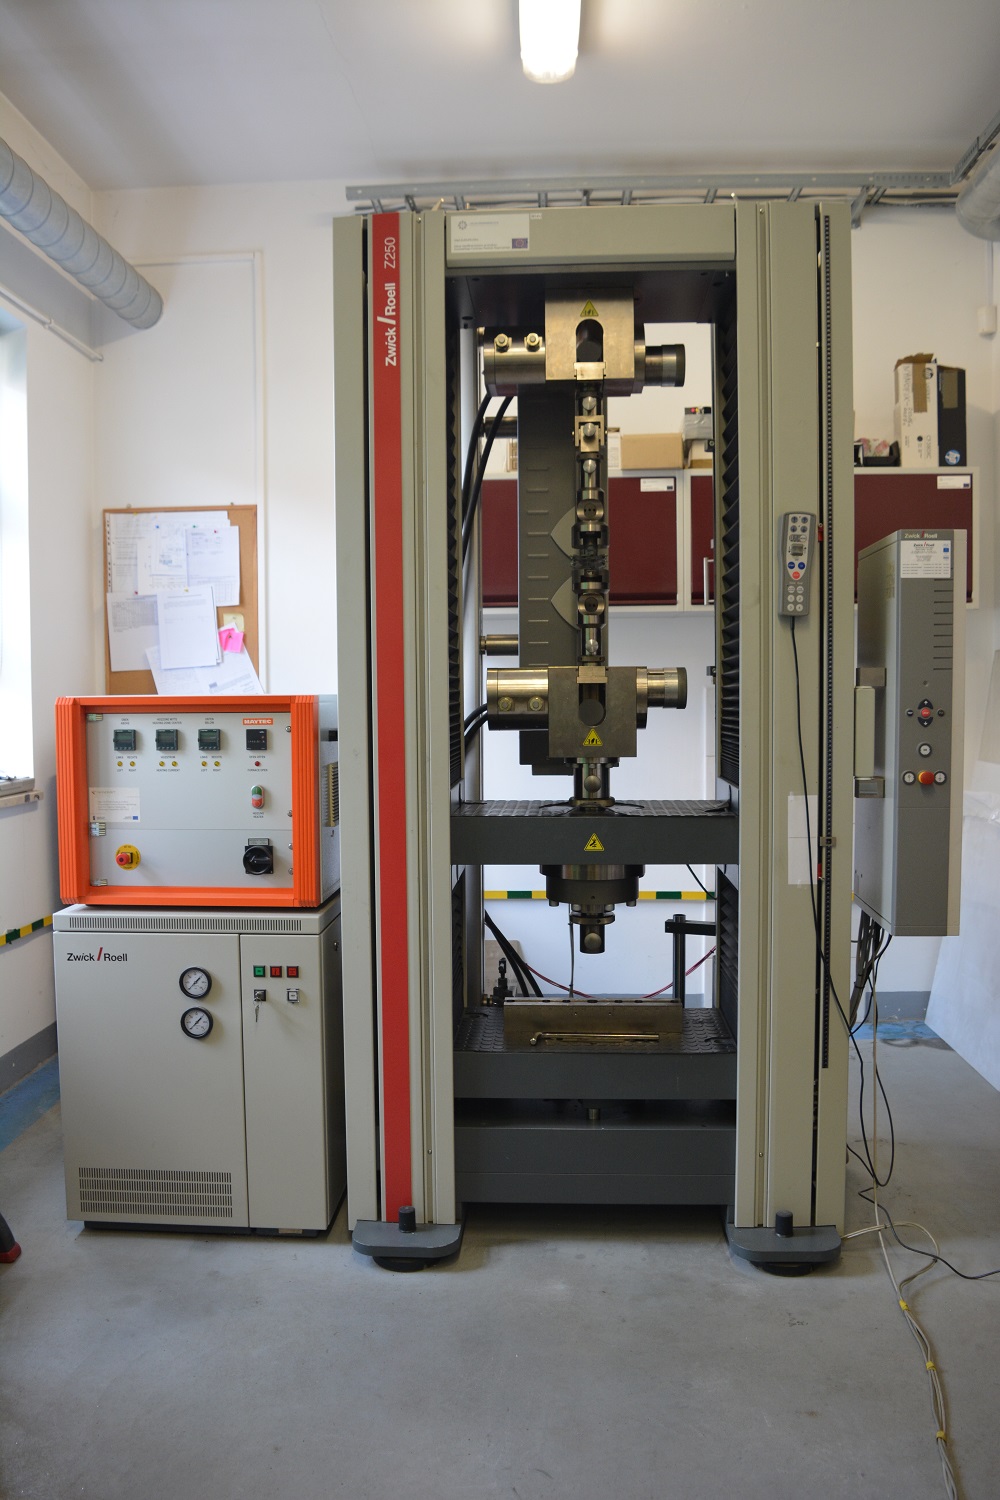
Zwick/Roell Z250kN static testing machine
This machine is designed to measure the mechanical properties of materials in tension, compression and bending tests.
The main advantages of the machine are:
Very good class measuring sensors (strain gauge measuring heads):
– 10kN head: measuring accuracy class 0.5, at least from 100N, according to ISO 7500-1, accuracy class 1, at least from 20, according to ISO 7500-1
– 250kN force head: accuracy class 1, acc. to ISO 7500-1 from 500N to 250kN (from 0.2% to 100%), accuracy class 0.5 acc. to ISO 7500-1 from 2500N to 250kN (from 1% to 100%)
Automatic mechanical extensometer for measuring axial and transverse strain with the following parameters
– total measuring range up to 500mm,
– Transverse strain measurement resolution 1μm
– axial strain measurement resolution 1μm over the entire measuring range,
-accuracy class 0.5 according to EN 9513
The machine allows you to:
- Perform standardized standard tests, or create your own customized test, tests based on user-defined calculations.
- Conduct measurements in a Mayatec furnace up to 1200°C.
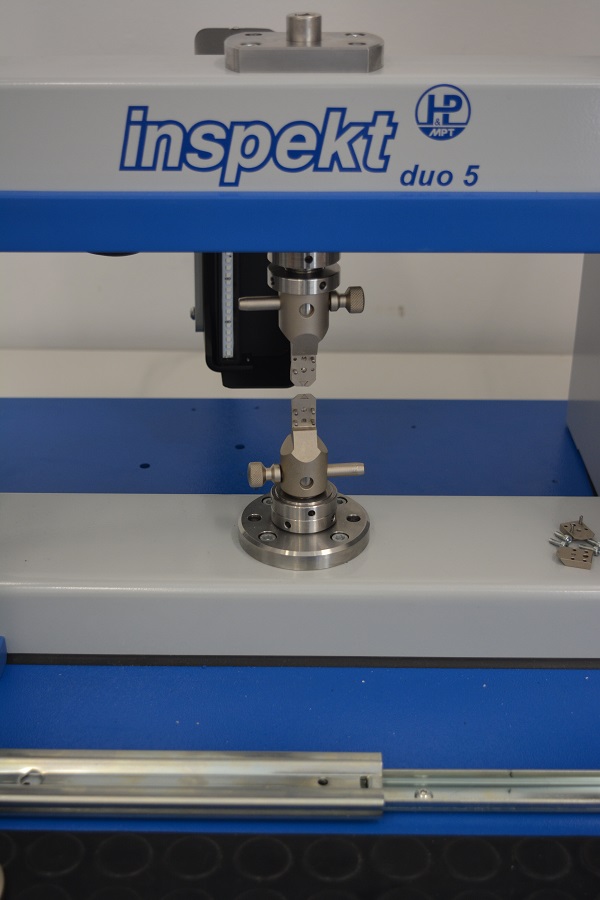
Inspekt Duo 5-M universal testing machine
This machine is designed for measuring the mechanical properties of materials in the form of microsamples.
The main advantages of the machine are:
– a force sensor S 5 kN with a real measurement range of 0 – 5 kN, with an accuracy class 0.5 according to ISO 7500-1.
– non-contacting extensometer for measuring elongation with a resolution of 1μm,
accuracy class 1 according to ISO 9513 with a field of view reduction to 50 mm.
– the LabMaster Blue software for conducting strength tests on materials and finished products, responsible for communication with the machine, parameterisation of the strength tests, data management and processing as well as archiving and report generation.
Dynamic strength testing
– Charpy (energy up to 1600J at a temperature between -51°C and 177°C),
– Izod (energy up to 1600J at temperature from -51°C to 177°C),
– Impact rupture (energy up to 1600J at temperature from -51°C to 177°C).
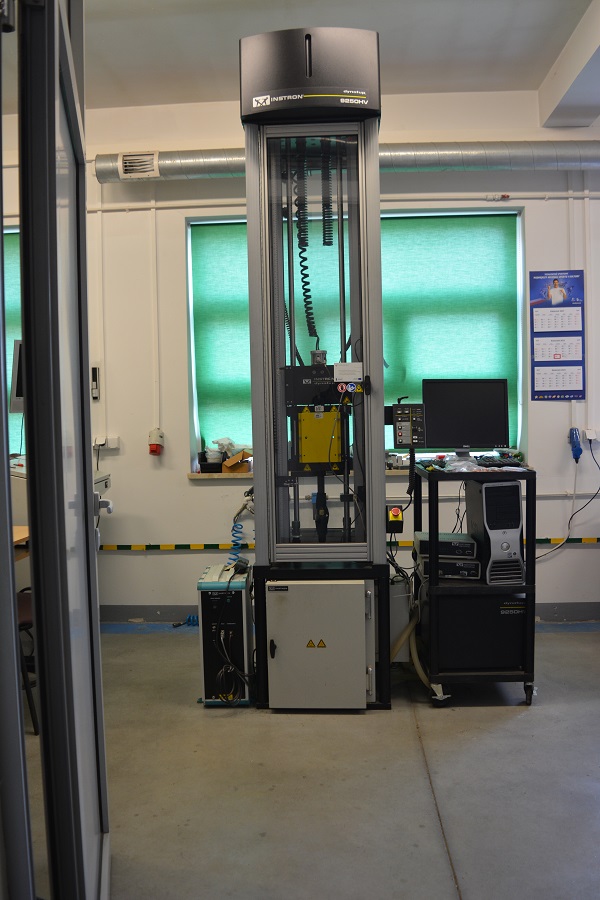
Instron Dynatup 9250HV impact machine
This machine is designed to measure Charpy, Izod, and impact toughness at temperatures ranging from -51° to 177°C.
The main advantages of the machine are:
Technical parameters.
-
– maximum speed with forced drive 20 m/s
– maximum simulated drop height 20.4 m
– impact energy range: 4.5 J to 1600 J - Standard impact head.
energy range 4.5 – 940 J - Heavy duty impact head.
energy range: 25 – 1600 J - Environmental chamber (LN2).
– temp. range -51°C to 177°C, temperature stability +/- 1°C
– internal dimensions (HxWxD): 458 x 314 x 463
-
- The machine allows for:
-
- Perform standardized standard tests according to ISO, DIN, ASTM standards or create your own customized test tests based on user-defined calculations.
- Tests in an environmental chamber at reduced and elevated temperatures
-
Hardness testing of materials
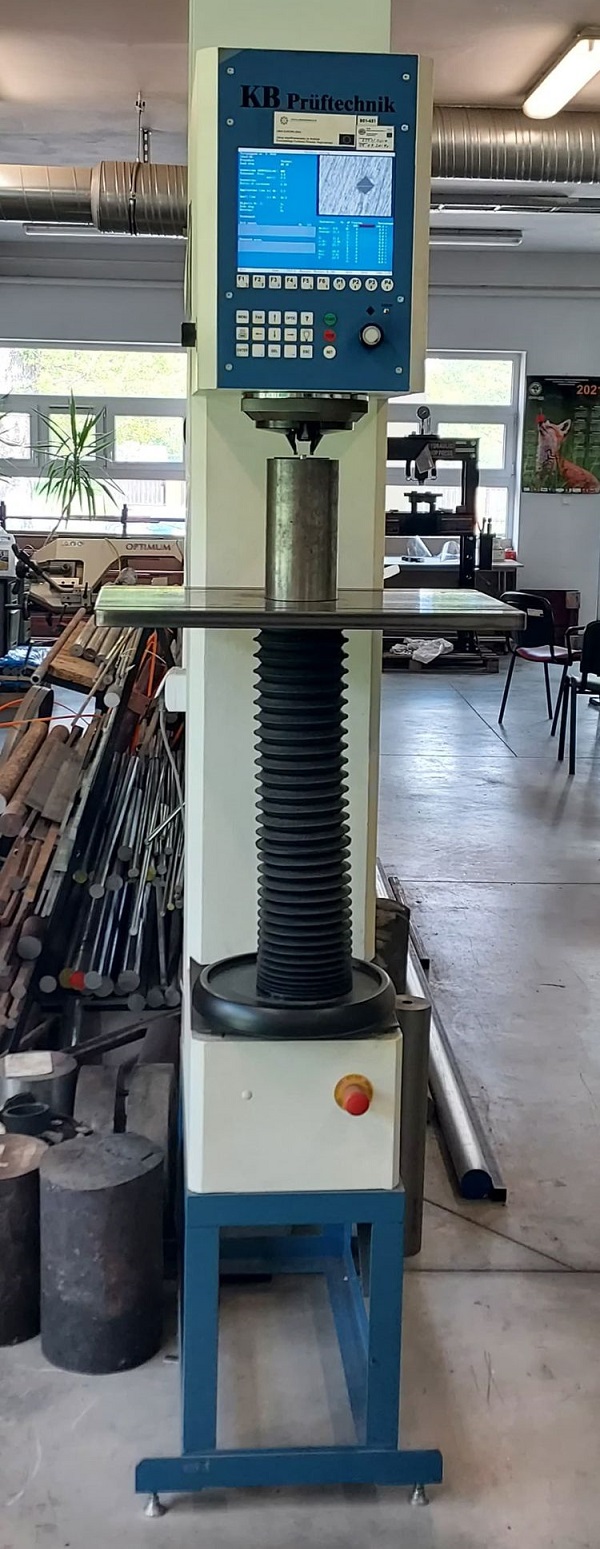
Hardness measurements using the Vickers, Brinell and Rockwell methods
Universal automatic hardness tester KB 250 BVRZ
It is dedicated to hardness testing using Vickers, Brinell and Rockwell methods in the testing load range from 9.81N to 24050N.
The main advantages of the machine are:
– optical evaluation through LCD monitor with CCD camera,
– a unique asset of the hardness tester is its 700mm test space and 250mm depth from the axis, which allows for testing large workpieces.
The device allows hardness measurements to be carried out using the following methods:
– Vickers according to DIN EN ISO 6507: 1-2-3-5-10-20-30-40-50-60-80-100-120,
– Brinell according to DIN EN ISO 6506: 1/1-1/2.5-1/5-1/10-1/30-2.5/6.25-2.5/15.625-2.5/31.25-2.5/62.5-2.5/187.5-5/25-5/62.5-5/125-5/250,
– Rockwell acc. to DIN EN ISO 6508, ASTM D 785, ASTM E 18: A-B-C-D-E-F-G-H-K-L-M-N-P-R-S-T-V-W-X-Y
Ball depth acc. to DIN ISO 2039 T1 (for plastics),
Vickers depth 30-50-100-120,
Brinell depth HBT 2.5/62.5-2.5/187.5-5/250,
Rockwell-Macro HMR 5/250.
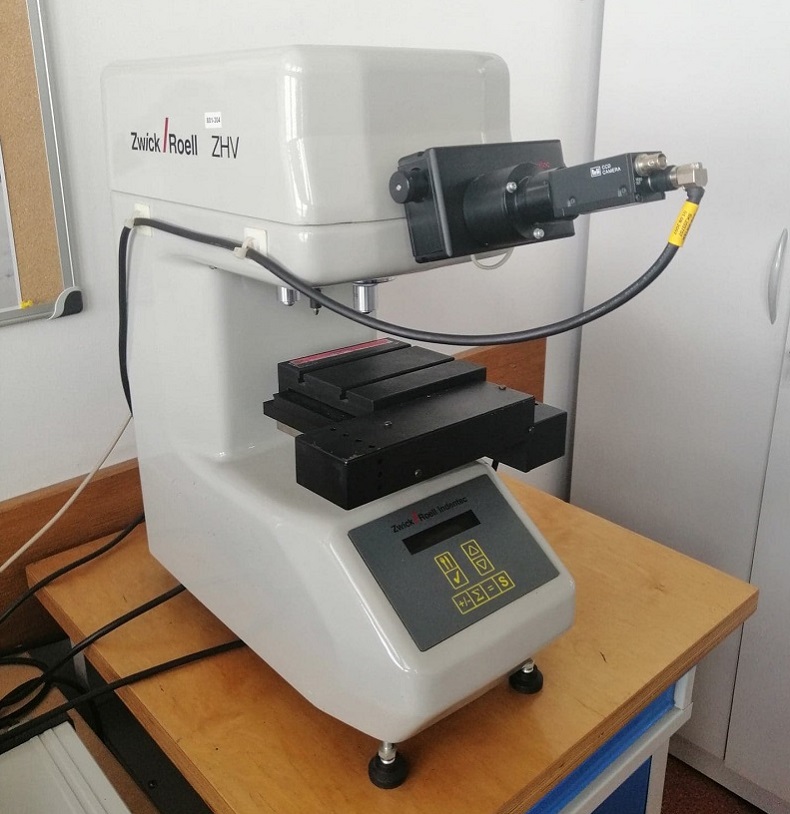
Zwick/Roell ZHV – automatic hardness tester for microhardness measurements using Vickers method, operated from software (testExpert) position.
The main advantages of the machine are:
– automated table, allowing serial measurements without having to set up the sample each time,
– automatic application of digital measurement lines and taking measurements from the testExpert software.
The device allows hardness measurements to be carried out using the following methods:
Vickers according to ISO 6507, ASTM E92, ASTM E384: 0.01, 0.025, 0.05, 0.1, 0.2, 0.3, 0.5, 1
